vishista chittalooru and swara repala
In this activity we will be focusing on physical and chemical changes, diving deep into what they are and what their properties are. We will also be talking about combustion and its relation to fire. Additionally, we will be creating an interactive craft to demonstrate the movement of fire!
materials needed:
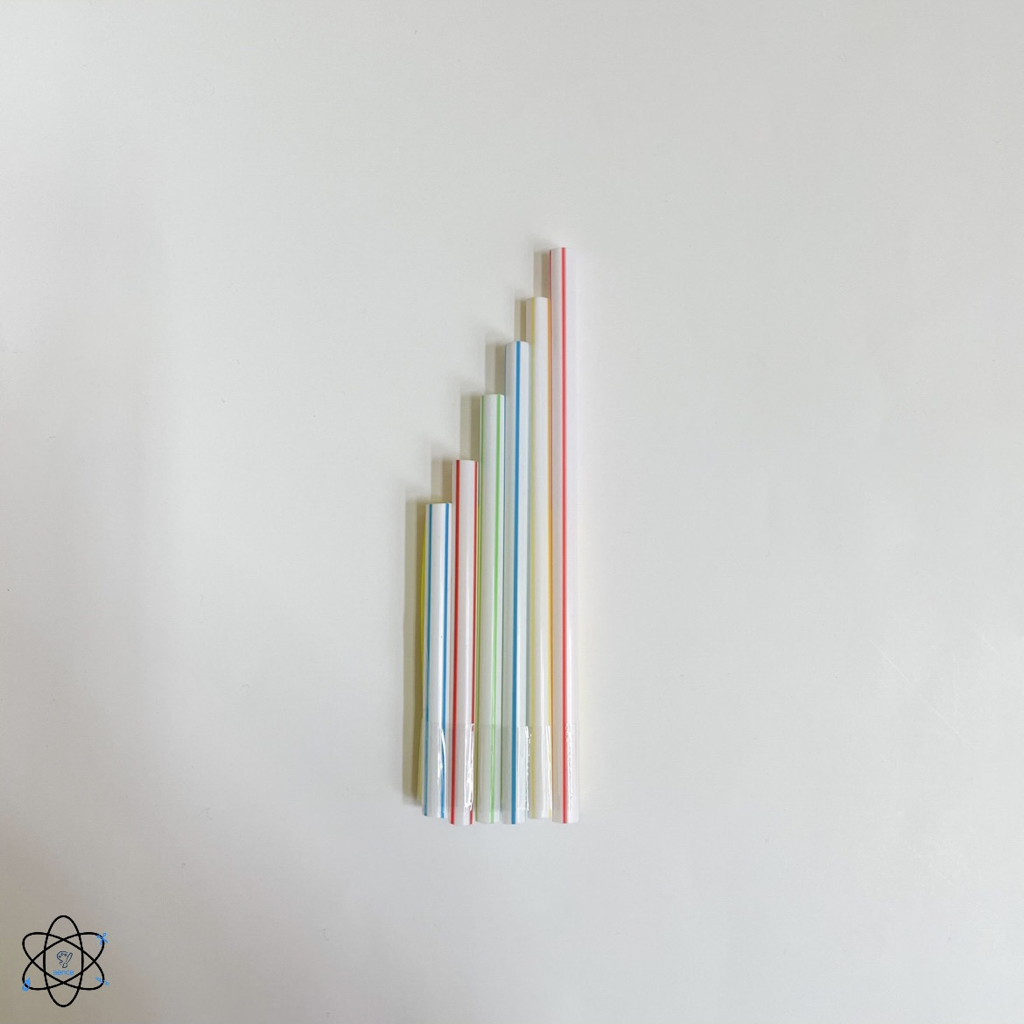
- Ziplock or sheet protector
- 3 sheets of paper - Tape - Scissors - Pencil Optional: Coloring materials and construction paper (red and/or orange) how to
Step 1. In the center, draw a shape of a fire on two sheets of paper.
Step 2. Cut the fire shape out! Your papers should now have a fire shaped hole in the center. Step 3. Attach the paper to both sides of your sheet protector or Ziplock bag. Step 4. Cut out small rectangular pieces of paper (out of your white paper or colored construction paper). This will be your fire! Step 5. Put your fire pieces into your Ziplock or sheet protector. Step 6. Seal your sheet protector/Ziplock bag with tape. Step 7. Shake your sheet protector/Ziplock bag, and watch your fire move! the lesson
In this session, we will be discussing chemistry, specifically chemical and physical changes. We will be learning about their respective properties, and other chemical reactions, such as combustion and how it relates to fire. To deepen our understanding of these concepts we will be creating an interactive model of fire! This hands-on recognition and understanding ensures that the child will comprehend the science concept thoroughly. You can find out more detailed science lesson and craft explanations in the presentation below!
0 Comments
4/20/2021 0 Comments Hot Air BalloonSanjana Kambhammettu and Vishista Chittalooru
In this session, we will be creating a flying hot air balloon to learn about the wonders of this type of aircraft and how it works. We will discuss the topics related to the circulation of air that is needed for flight, such as heat, volume, density, and convection! We will also be playing a Kahoot in our live class! Our recommended age group for this craft is 4 to 10 years old, although all ages are welcome!
Materials Needed:
- 3 sheets of paper
- Toilet Paper Roll - Paper plate - String - Tape - Scissors - Optional: Coloring materials How To
Step 1. Trace a hot air balloon shape onto your paper.
Step 2. Repeat this 4 more times. You should have 5 hot air balloon shapes now! Step 3. Cut the hot air balloons out our your paper. Optional: Decorate your hot air balloon shapes! Step 4. Fold each hot air balloon in half. Step 5. Attach the folded pieces together, forming an something that looks like an accordian. Step 6. Attach the remaining 2 sides needed to connect the entire hot air balloon. Step 7. Create a small hole at the top of your hot air balloon. Step 8. Thread some string through the hole and create a loop (so you can hold the hot air balloon easily). Step 9. Cut out a rectangle approx. 3.5 inches by 1.5 inches- using a paper plate. Step 10. Connect the ends of the rectangle together to create a circular ring. Step 11. Cut out 4 small strings, approx 0.5 inches, and attach them to the cardboard ring with tape. Step 12. Attach the remaining end of the strings to the end of the hot air balloon! The Lesson
In this lesson, we will be discussing air flight, with the use of the hot air balloon as a real life example. It covers the explanation of how density and convection combine to have an impact on the molecules in the hot air balloon, and causes it to rise! This hands-on style of learning ensures the development of understanding of this topic and allows children to connect to how flight works in real life. You can find the science explanations and a picture of the craft below!
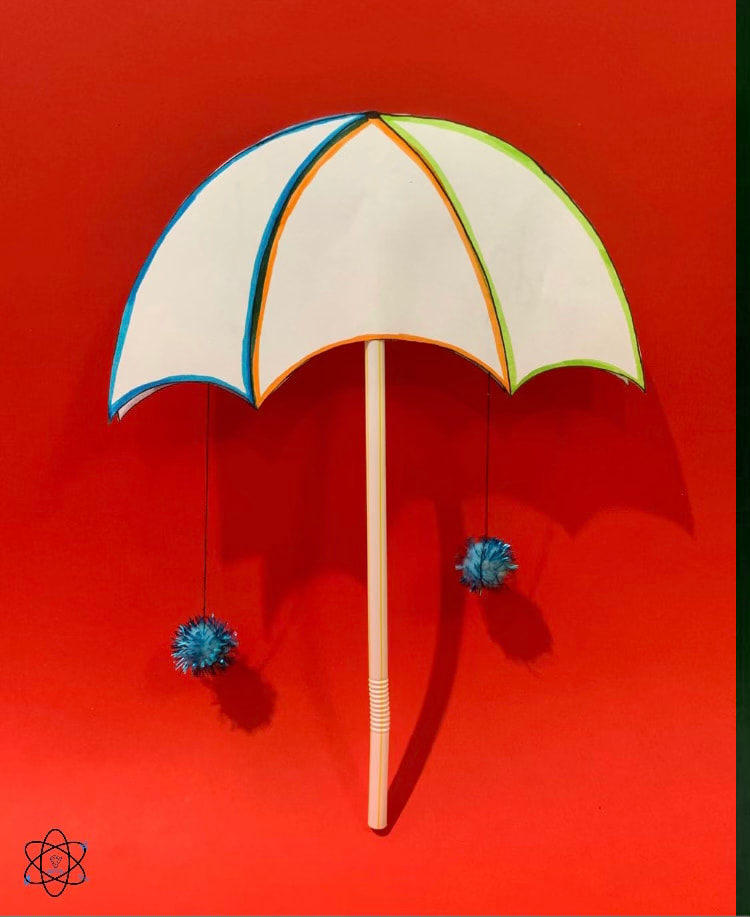
4/13/2021 0 Comments Umbrella WEATHER ActivityBy Swara Repala And Sanjana KAMBHAMMETTU
In this session, we will be creating a spinning umbrella to demonstrate different types of weather, as well as playing a Kahoot! While we create the craft, we will be discussing the topics of weather, precipitation, and more! Our recommended age group for this project is 4 to 10 years old, although all ages are welcome!
MAterials Needed:
- 1 straw/pencil/utensil
- A sheet of paper or a print out of our umbrella template - String/thread/anything attachable - Tape - Scissors - Little trinkets such as pom-poms, beads, coins, etc - Optional: Coloring materials How To
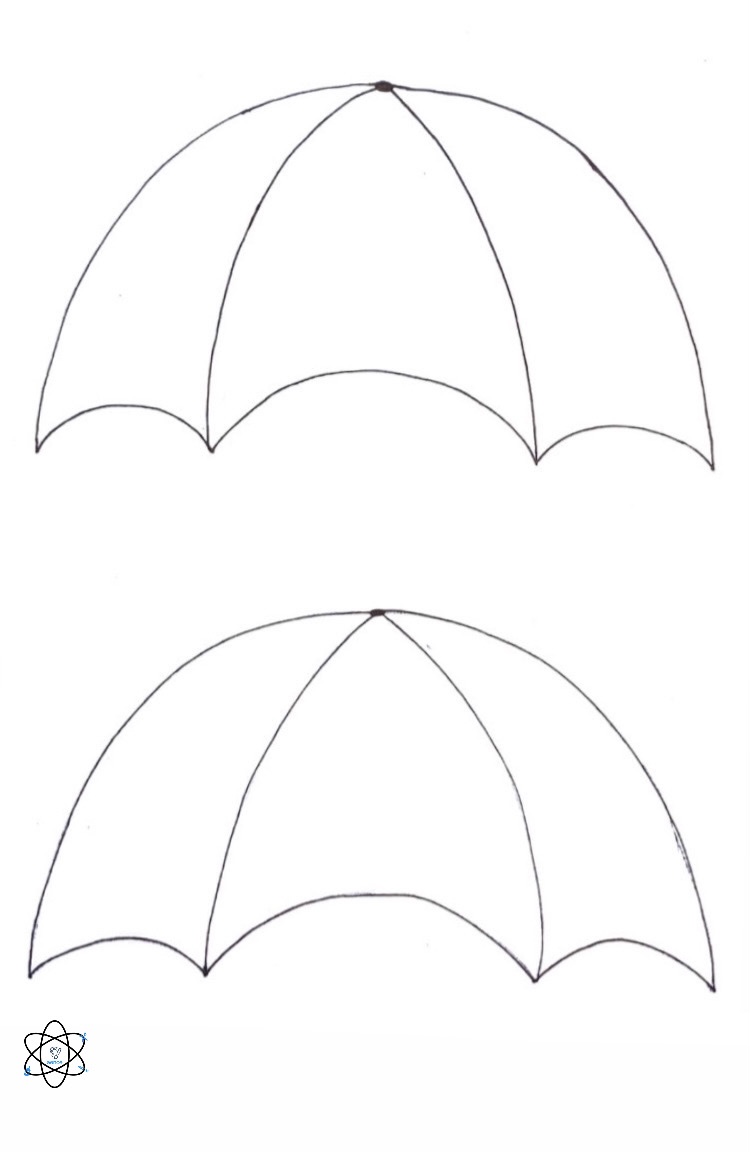
Step 1: Draw and cut out 2 copies of an umbrella canopy. You can use the template below as reference for your drawings or to print and cut for your own diagram!
Optional Step: Color and decorate your canopies if you would like to do so! Step 2: Tape your straw to the center of the backside of one of the canopies. Step 3: Tape the other canopy to the straw, right side up. Step 4: Cut out 2+ lengths of string(You can have as many of these you would like, accomodating your craft size), roughly 3/4 the length of your straw. Step 5: Securely tie/tape your string to your trinkets. These represent different types of precipiation. Step 6: Tape these attachments on opposite sides of your canopies, on both sides, evenly. Step 7: Spin your toy and see your weather umbrella wind away! The Lesson
In this lesson, will be learning about the topic of weather, types of precipitation such as rain, snow, sleet, and hail, and factors that influcence weather. We will cover the different factors (temperature, latitude, elevation & air pressure, and the water cycle), as well as how they individually affect weather. The combination of both the hands on activity and the competitive game in this craft fosters a creative thinking mindset in the children. The act of both connecting and applying the knowledge makes it highly likely that the information learned in class will be absorbed.
|
|||||||||
