|
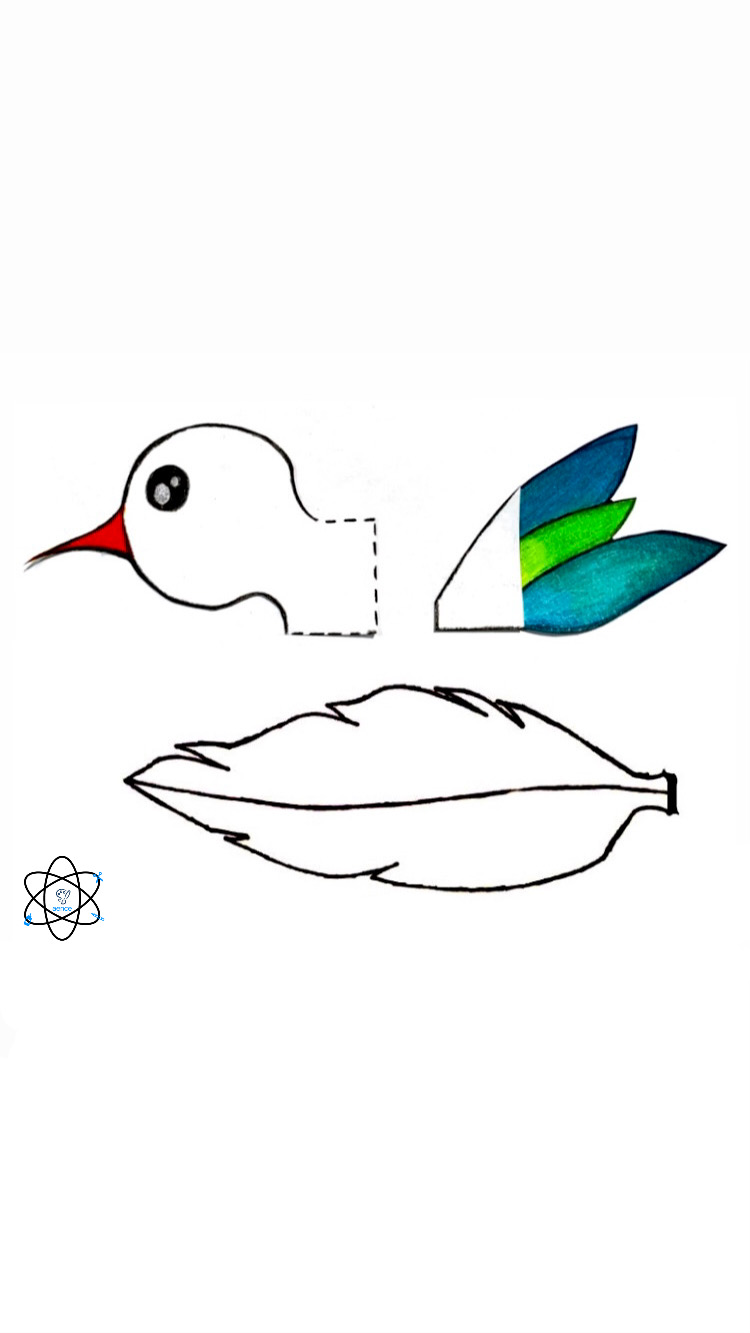
9/27/2020 0 Comments Flying Bird CraftBy Swara Repala And Sanjana Kambhammettu
In this session, we will be learning how to make a model of a bird to learn about migration and how animals adapt to their environment. This bird will fly if it is thrown, similar to a paper airplane. The recommended age group for this project is 4-10 years old, although all ages are welcome!
Materials needed:
- Two or three pieces of paper (any color)
- Scissors - Tape, glue, or a stapler - Optional: coloring materials How to
Step 1: Fold a piece of paper in half, along the long side.
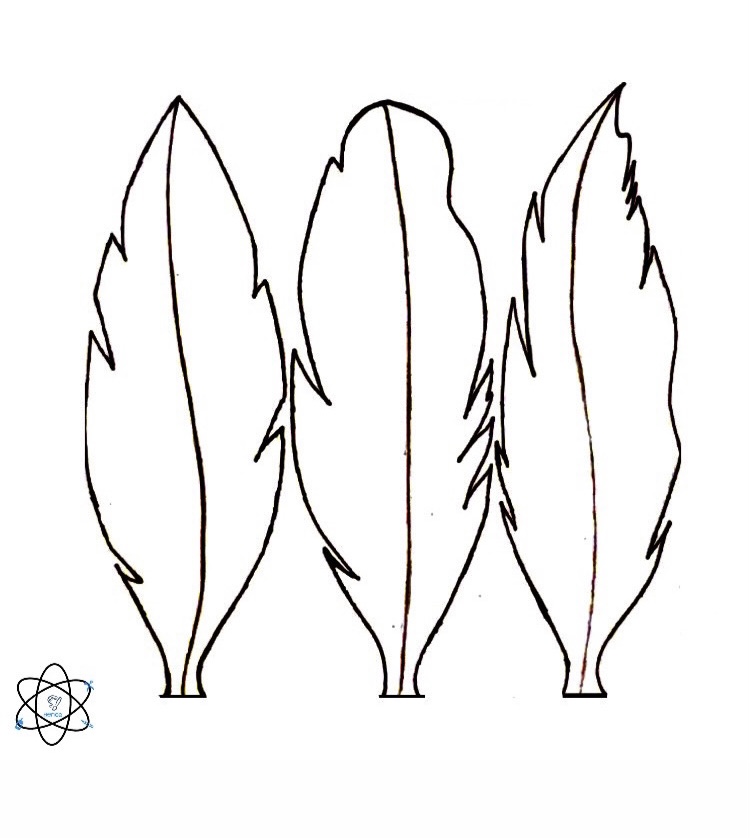
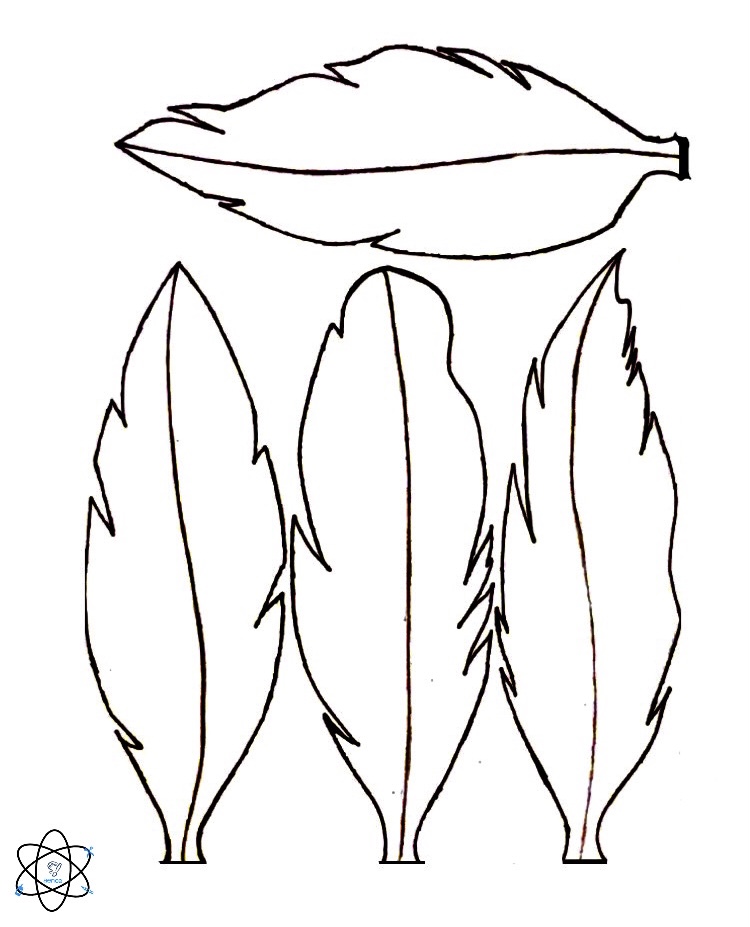
Step 2: Bring one corner of the paper to the center of the fold (the tip of the corner should be on the outside of crease line, about halfway on the line). Step 3: Staple or tape the flap to hold it down. Step 4: Repeat steps 2 and 3 on the other side, creating the body of the bird. *Note for steps 5-8: you can use our template attached below for reference or to print and cut out!* Step 5: Draw and cut the head of a bird, on the second piece of paper. This should be about 3 inches wide. Step 6: On the same piece of paper, draw and cut out the shape of a bird's tail. This should also be about 3 inches. Our template has both the head and tail, so you can print it out if you prefer! Step 7: Tape or glue the head to the front of the bird, and the tail to the end of the bird (attach these pieces to the inside of the fold). Step 8: Draw and cut out feathers (you can use our template below!). Tape these to the wings in any way you like. Of course, you can skip this step and color it, or leave it as it is! Step 9: Throw your bird like you would a paper airplane, and watch it fly! The Lesson
In this lesson, we will be learning about migration and other adaptations of animals. We will be looking at the 3 types of adaptations and why they happen, along with why migration happens. The hands on activity ensures that the kids will retain all of the content they have learned, and further deepens their creativity and critical thinking skills, which pushes them to make more scientific connections. You can find our science lesson and craft explanations in the presentation below!
0 Comments
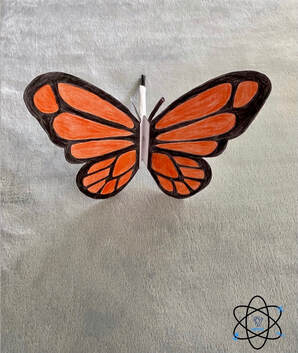
9/16/2020 0 Comments Butterfly Wings craftBY: VISHISTA CHITTALOORU AND SWARA REPALA
In this session, we will be creating a model of a butterfly to demonstrate the metamorphosis and life cycles of butterflies. Throughout the activity, we'll be explaining the science behind metamorphosis and life cycles of animals, with a focus on butterflies. The recommended age group for this activity is 4-10 years old, but all ages are welcome!
Materials Needed:
- 2 pieces of paper
- 1 straw - Scissors - Pencil - Tape - Coloring Supplies How To
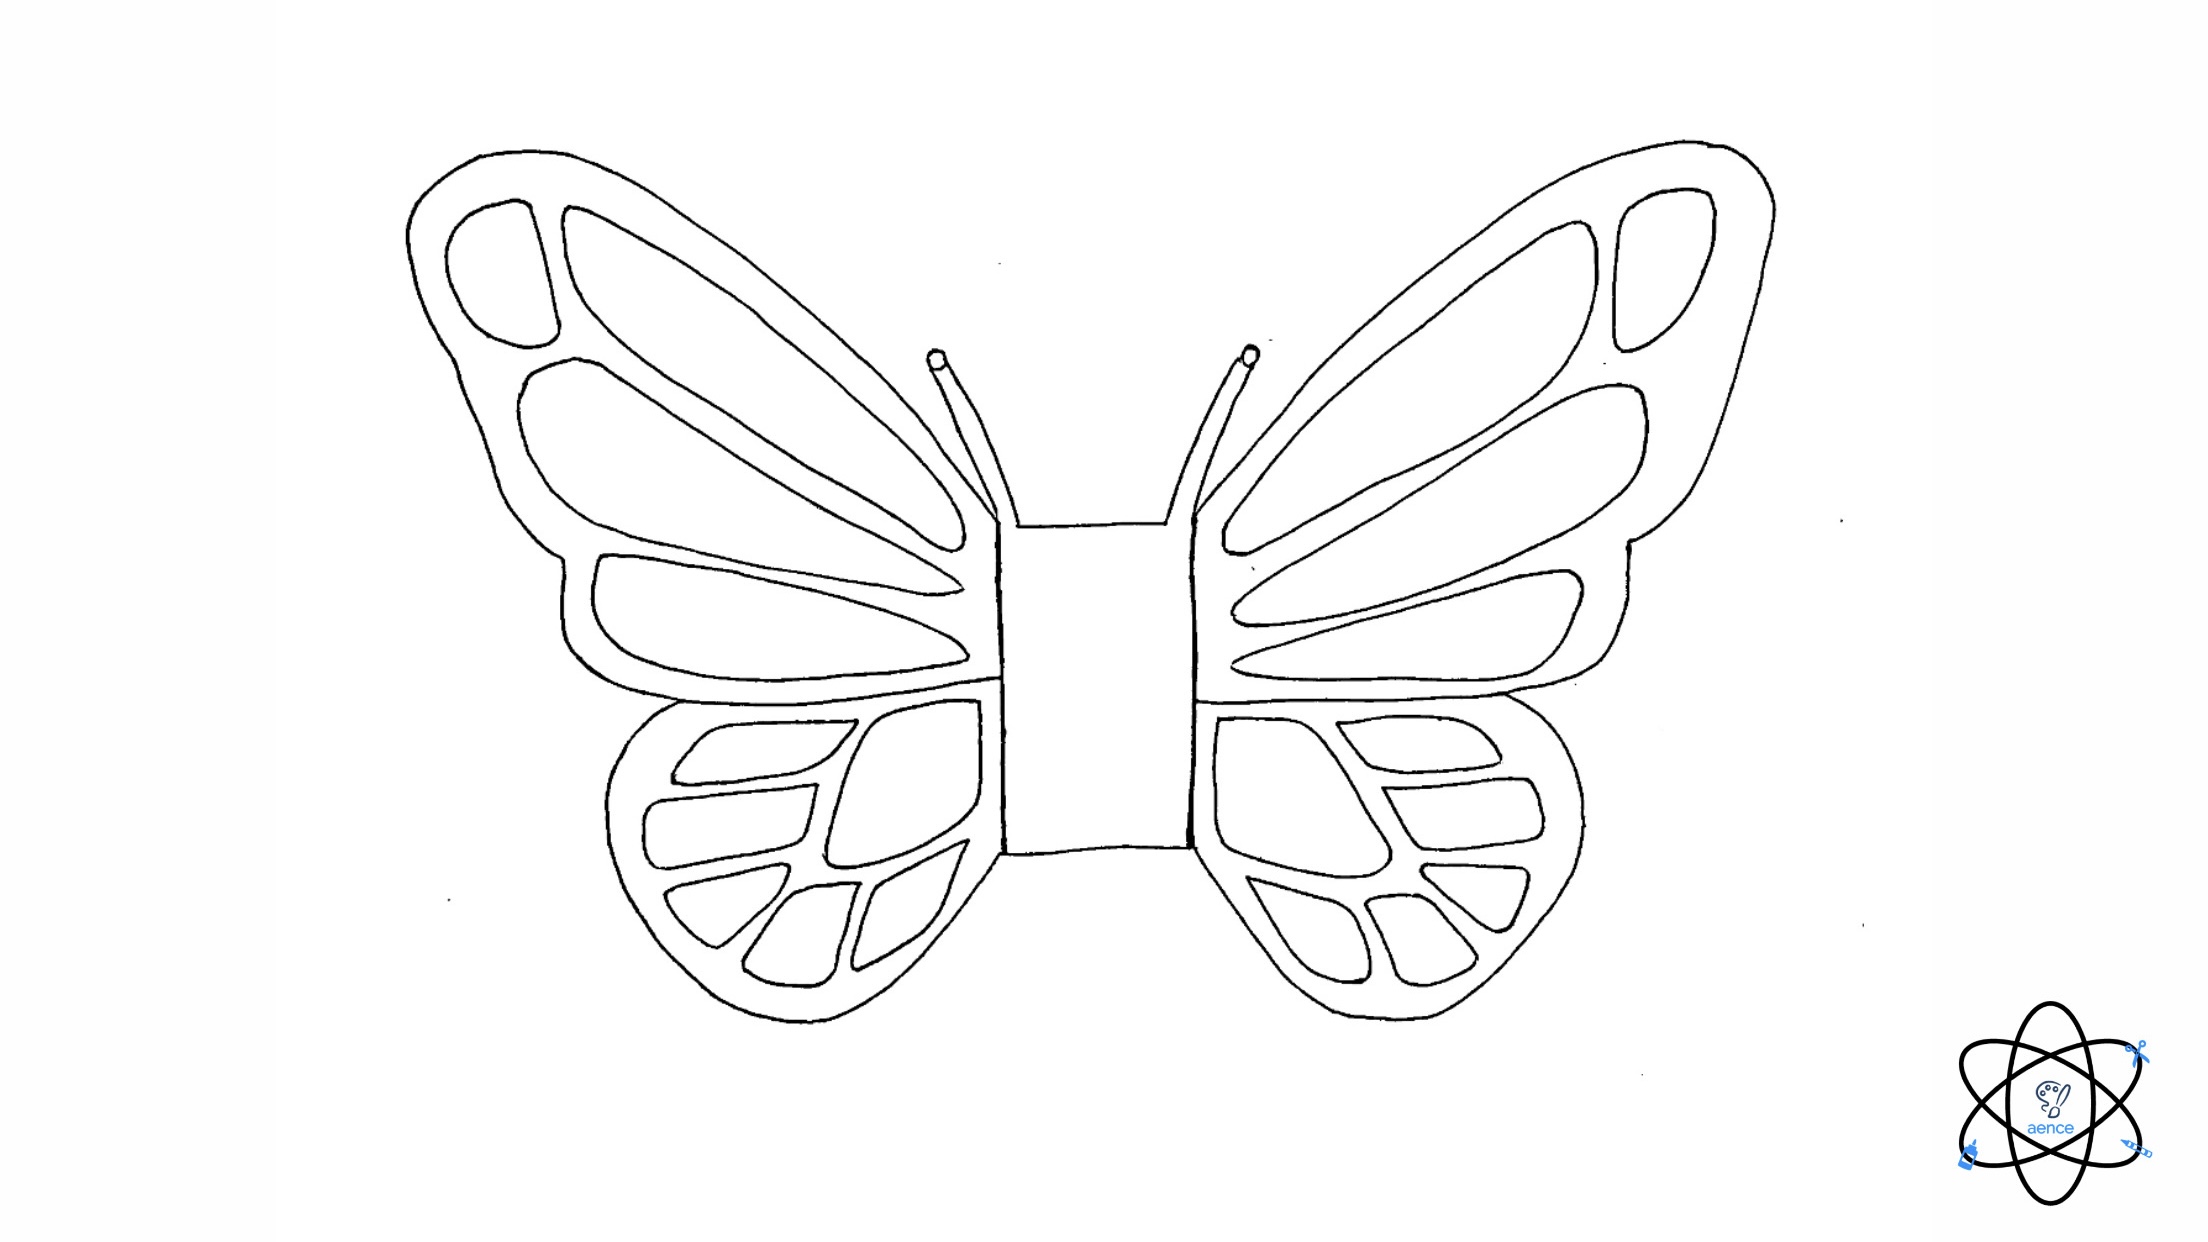
Step 1: On a sheet of paper, draw a butterfly (following the template design for reference), or print and cut out the butterfly from our template below!
Step 2: Design the butterfly to your liking! (this is optional) Step 3: Fold the butterfly wings on the edges of the rectangle (body of the butterfly) along the line. Step 4: Fold the whole butterfly in half vertically (you should be folding in the middle of the rectangle). Step 5: At the top of your straw, cut about 1 inch vertically down the middle. Step 6: Tape the 2 pieces of the cut straw onto the folded part of the butterfly (each side of the straw is taped to one side of the folded part). Step 7: Cut a 3x11 inch piece of paper and roll it into a tube, then tape it to secure. Make sure it is thin enough to fit securely around your straw. Step 8: At the top of the paper tube, cut about 4 inches vertically down the middle. Step 9: Put this through the first straw, and fold down the 2 pieces of cut straw to the wings of the butterfly. Tape the ends to secure it. Step 10: Push the straw up and down, and watch your butterfly flap its wings! the lesson
Throughout this lesson, we will be learning about metamorphosis and how it relates to the life cycles of animals. There will be a focus on butterflies, and we will also be looking at examples of other creatures that go through metamorphosis. While doing so, we will also be learning about why animals go through metamorphosis. The hands on creation of the final stage of metamorphosis in butterflies, ensures that the kids will retain what they've learned, while enhancing their creativity and critical thinking skills. You can find our explanations in the presentation below!
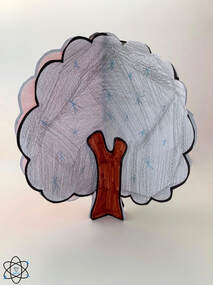
9/9/2020 0 Comments Seasons of change CraftBY SANJANA KAMBHAMMETTU AND VISHISTA CHITTALOORU
As you may know, fall is approaching very soon! So, in this lesson, we will be learning how to make a 3-D model to represent the 4 seasons. This activity explains the Earth's tilt, the revolution of the Earth around the Sun, and more! The recommended age group for this project is 4-8 years old, although all ages are welcome.
MATERIALS NEEDED:
- Paper (preferably white, 2-4 sheets)
- Scissors - Glue/ Tape - Optional: Color pencils/markers HOW TO
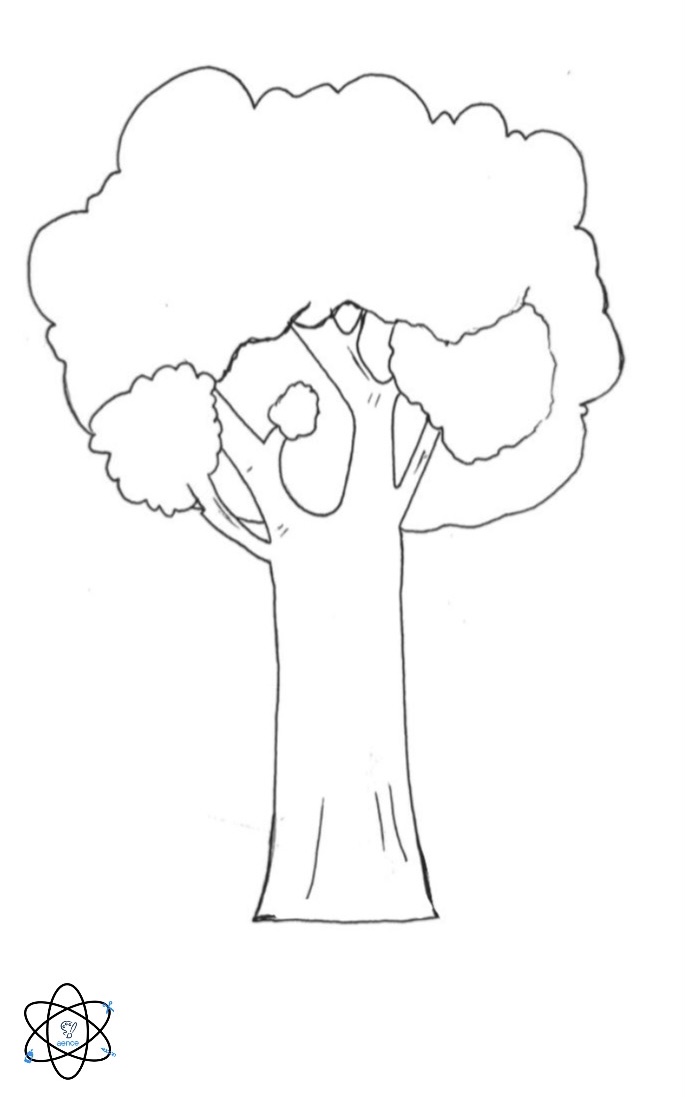
Step 1: On a sheet of paper, draw a tree with a stump that is easy to cut out.
Step 2: Trace this to make 3 more trees and cut them all out. This step should leave you with 4 cut outs. *In Steps 2-6, be as creative as you would like!* Step 3: On the first tree, draw snowflakes to show winter. Step 4: On the second tree, draw flowers to demonstrate the spring season. Step 5: On the third tree, draw fruits, like mangos or apples, to express summer. Step 6: On the last tree, draw falling leaves to represent autumn. *Optional step* Color your trees to exemplify your understanding of the seasons. Step 7: Fold each of these trees in half. Step 8: Glue or tape the back of each half to another season, following the order winter, spring, summer, and fall. Now you have your own a 3-D seasons model! The Lesson
Throughout this class, we will be describing how and why seasons change, and how it is shown in our surrounding environments. While doing so, the kids will also be creating their own diagrams, which exemplifies hands-on learning and enhances creativity to correlate with what we can see in our own backyards! You can find our explanations in the presentation below.
By swara repala and Sanjana Kambhammettu
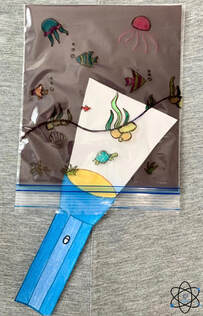
In this session, we will be making a diagram that represents underwater ecosystems! This activity focuses on plant and animal life, along with the functions of aquatic communities. The recommended age group for this project is 4 to 10 years old, although all ages are welcome!
materials needed:
- ziplock bag (preferably quart or gallon sized)
- dark blue or black paper - white paper - scissors - pencil - Sharpie (any markers that write on ziplocks will work) - Optional: colored sharpies/markers How To
Step 1: Using your sharpies, draw an underwater scene on your ziplock. (the side the you close your ziplock on should be the bottom of your drawing)
*optional: color the drawing using your colored sharpies or markers* Step 2: Cut the dark blue/black paper to the size of the ziplock. Step 3: Slide the dark blue/black paper into the ziplock. Step 4: On the white paper, draw and cut out a picture of a flashlight projecting light, as shown in the picture below. *optional: color the flashlight* Step 5: Slide the flashlight shape into the ziplock, over the dark blue/black paper. Step 6: Look at your drawings with the help of the light from your flashlight. The Lesson
Throughout this session, we will be explaining aquatic ecosystems. Your children would learn about oceans, lakes, and underwater flora and fauna. They will replicate these topics in their diagram. This hands on activity ensures that they would remember all the content, and push their innovative and critical thinking skills. You can find our science lesson and craft explanations in the presentation below.
|
|||||||||||||||||||||

