|
3/31/2021 0 Comments Parachute activityvishista chittalooru and swara repala
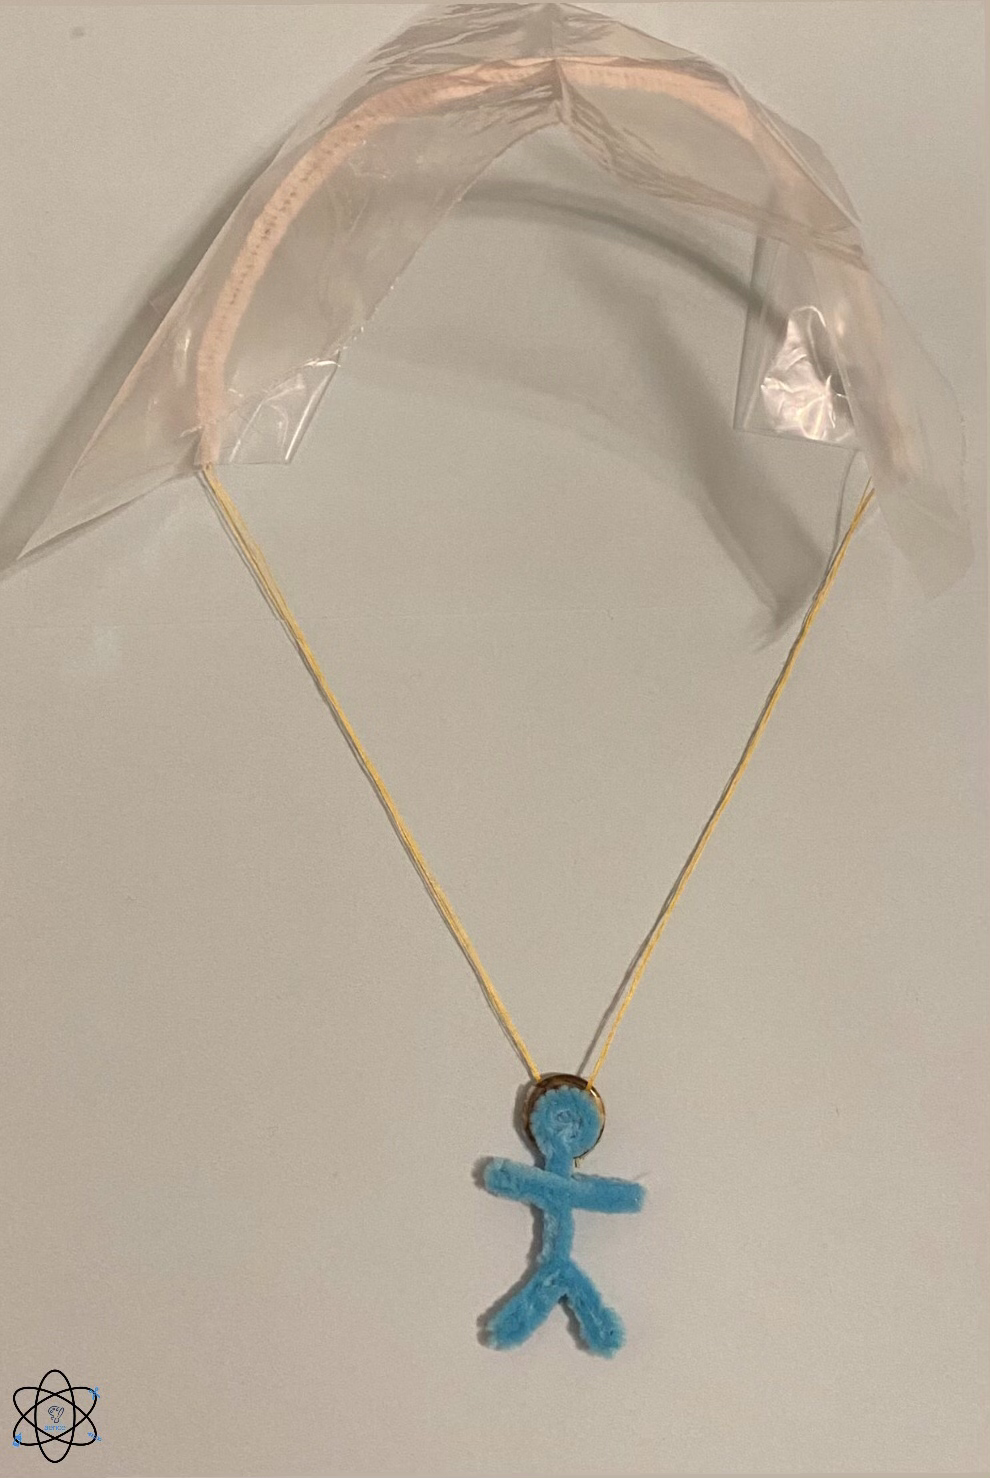
In this session we will be learning about the science behind parachutes! This includes learning about Newtons Laws of Motion, force, gravity, and more. We will also be touching on topics such as air resistance to go deeper into the concepts behind parachutes. To demonstrate the concepts we learn through this session, we will be creating a mini parachute. This craft is very customizable, and can be easily changed/added too to make it fly even better. Your children can add pipe cleaner to fortify the parachute, make a stick figure to represent a person attached to the parachute, add decorations/designs, and much more! In addition we will be playing a Kahoot at the end of our session to reinforce the knowledge the children have gained.
materials needed:
- Ziplock bag
- Yarn/thick string - Glue/tape - Scissors - Button or coin (something small with weight) Optional: Coloring/decorative materials and pipe cleaners (recommended) how to
Step 1: Cut your ziplock into a rectangle shape about 4"x5" in size.
Step 2: Cut your yarn/string about 6-8" in length (adjust as necessary). Step 3: Cut this long piece of yarn/string in half and tape or glue it to each end of your ziplock plastic rectangle. Step 4: Cut a pipe cleaner the length of the ziplock plastic rectangle, and attach it to the middle of the ziplock plastic rectangle to reinforce it. This can also be done with paper, a straw, or many other things: be innovative! Step 5: Take your small object (button, coin, etc) and attach both ends of the string to it. Optional: Create a pipe cleaner person to represent a parachuter! Step 6: Release your parachute from a height of 3 feet or higher, and watch it float! the lesson
In this lesson we will be learning about physics, delving into Newtons Law's of Motion, gravity, and force. We will be going into depth about each individual law, providing real world examples of the phenomena. Additionally, we will be touching on advanced concepts such as air resistance to dive deep into the science behind parachutes and provide a more comprehensive overview of the mechanics of parachuting! The craft we will be creating, which is a mini parachute, is a great way to physically demonstrate the concepts we discuss in class, and works to get kids thinking critically about how they can create models displaying concepts they've learned. You can find our more detailed science lesson and craft explanations in the presentation below!
0 Comments
3/23/2021 0 Comments Spring FlowersBy sanjana Kambhammettu and Vishista Chittalooru
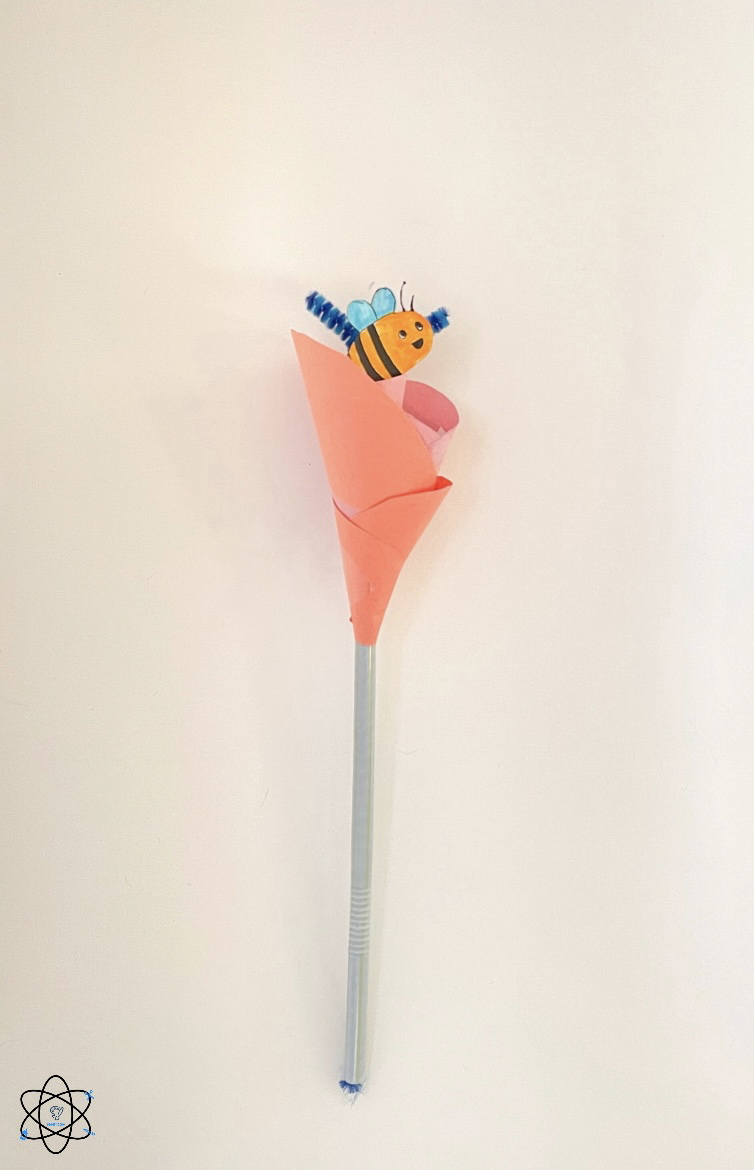
In this session, we will be exploring flowers and how they form in honor of spring starting in the Northern Hemisphere! We are discussing the parts of a plant, differences in plant species, and how pollen is spread as we see flowers starting to bloom. The craft will display the various parts and demonstrate to children how pollination occurs. Our recommended age group for this project is 4 to 10 years old, although all ages are welcome!
Materials Needed:
- 2-5 sheets of paper
- Scissors - Glue/tape - Pipe cleaner/straw/pencil - Optional: Coloring materials How to
Step 1: Cut a sheet of paper into a square, following the measurements of " by ".
Step 2: Roll and glue/tape the square into a cone, making sure to leave a hole large enough for the pipe cleaner/straw/pencil, which will act as the flowers' stem, to fit through at the bottom. Optional Step: Draw and cut out petals to glue/tape around your cone, decorating however you would like. Step 3: Insert the stem through the hole, and tape in the middle of the opening, making sure that it is still able to move freely at the top. Step 4: Draw and cut out pollinators, like birds, bees, butterflies, and any other you can think of! If you would like, we have a template available for you to use as a reference, or to print and cut out! Step 5: Glue/tape these around your flower, and move you stem, giving them access to all the pollen! the lesson
The interactive model that will be created in this lesson will demonstrate how pollination occurs. This hands-on recognition and understanding ensures that the child will comprehend the science concept thoroughly. The engagement will allow for a more in-depth understanding of the topic at hand, and more real world connections as spring has arrived. You can find our more detailed science lesson and craft explanations in the presentation below!
3/15/2021 0 Comments Spyglass Activityby SWARA REPALA and Sanjana Kambhammettu
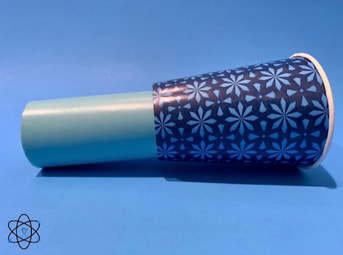
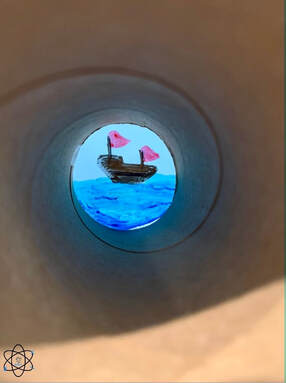
In this session, we will be exploring the concept of the ocean's waves, through the creation of a spyglass, and by playing a kahoot! We will be discussing the different types of waves and how they are formed. When you look through this spyglass, you will see a beautiful boat scene with waves! Our recommended age group for this project is 4-10 years old, however, all ages are welcome!
MATERIALS NEEDED:
- 1 paper cup or plastic cup
- 1 cardboard paper roll - glue/tape - permanent markers (washable markers can be used if needed) - Optional: decorative materials HOW TO
Step 1 : Trace around your paper tube on the bottom side of your cup.
Step 2 : Cut out circle, and make sure your toilet paper tube fits snuggly into the cup. Step 3 : Trace a circle that is the same size the toilet paper roll cycle on a piece of plastic film, from a ziplock bag, sheet protector, plastic wrap, etc. Step 4 : Using permanent markers, draw a boat scene with ocean waves onto the plastic wrap. Step 5 : Cut this circle out, and tape it to the toilet paper roll. Optional step: decorate the roll anyway that you would like! Step 6 : Insert the tube through the cup, and look through your spyglass! THE LESSON
In this session, we will be discussing ocean waves. We will cover the three types of waves: wind-driven waves, tidal waves, tsunamis, and how they are formed, as well as their characteristics. We will also have some friendly competition and play a Kahoot! This connection and hands-on learning will push children to use their creativity, and develop their critical thinking skills. This will help them retain the knowledge learned and apply it in real-world situations. You can find the science lesson and a picture of the craft below!
3/2/2021 0 Comments Renewable Energy: WindMillSanjana Kambhammettu and Vishista Chittalooru
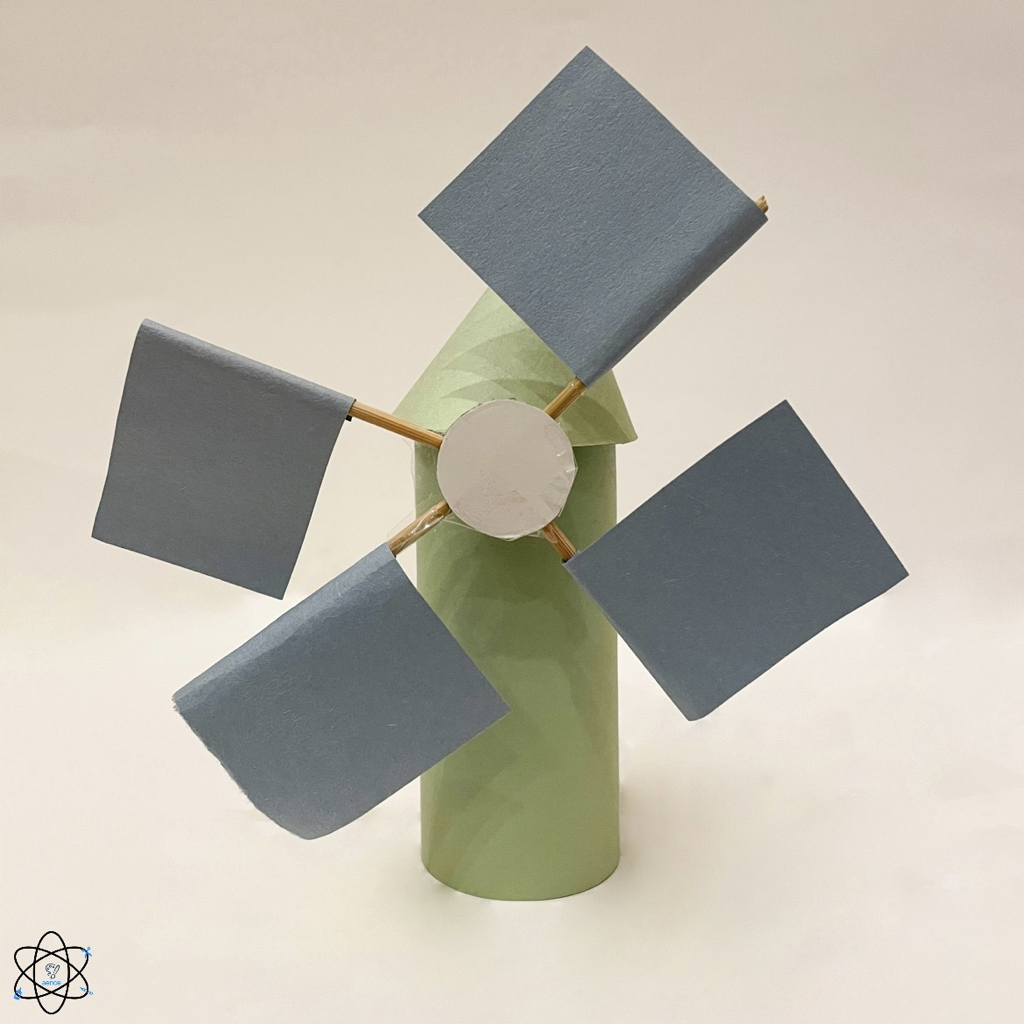
In this session, we will be exploring the concept of energy, more specifically renewable v.s. non-renewable energy sources, and how they impact our planet. While discussing these topics, we will be creating a 3-D windmill model to demonstrate one method of renewable energy: wind power. Our recommended age group for this project is 7-10 years old, however, all ages are welcome!
Materials Needed:
- Toilet Paper Roll
- Scissors - Tape - Cardboard/Sturdy item (ex. small portion of a paper plate) - Wooden skewer(s), 4 toothpicks, or 2 straws - I sheet of paper Optional: 1-2 sheets of construction paper, writing/coloring utensil(s) How To
Step 1: Cut out a cardboard circle the size of a quarter.
Step 2: Create four equal sections on this circle. Step 3: Cut one straw or wooden skewer into 4 equal sections (make them a size that works with the size of your toilet paper roll) Step 4: Cut out 4 small squares/rectangles, adjusting the size according to the length of your straw pieces. Step 5: Attach each square/rectangle to the end of your straw pieces. They should look something like mini flags! Step 6: Place each "flag" flat on the cardboard circle in an X shape. Attach it to the cardboard using tape. Step 7: Put your about 1/2 inch from the top of the toilet paper roll, and trace the circular ending of the straw onto the roll. Step 8: Cut out that circle, making sure you do it on the other side! Your straw needs to go through the toilet paper roll! Step 9: Using tape, attach the straw directly to the center of the circular cardboard that has our flags on it. Retape it as many times as needed, it needs to be sturdy! Step 10: Pull the straw through the holes in the toilet paper roll. Optional step: Decorate the outside of your paper towel roll using a sheet of paper and/or coloring utensils. Step 11: Make a small cone that covers the top of the paper towel roll by cutting a 4 in x 4 in paper and glueing/taping it closed. Step 12: Spin the windmill with your finger, and watch it create renewable wind energy! The Lesson
In this session, we will be adressing the differences between renewable and. non-renewable energy sources, and how we use them in our world today. This includes learning about how fossil fuels impact Earth, and how different forms of energy, such as solar, wind, hydro, and thermal are beneficial to our planet. This connection between the previously mentioned concepts and the real life application behind the crreation of the wind mill will allow for students to deepen their critical thinking skills and for them to make more in depth realizations. You can find the science explanations and a picture of the craft below!
|