|
3/23/2021 0 Comments Spring FlowersBy sanjana Kambhammettu and Vishista Chittalooru
In this session, we will be exploring flowers and how they form in honor of spring starting in the Northern Hemisphere! We are discussing the parts of a plant, differences in plant species, and how pollen is spread as we see flowers starting to bloom. The craft will display the various parts and demonstrate to children how pollination occurs. Our recommended age group for this project is 4 to 10 years old, although all ages are welcome!
Materials Needed:
- 2-5 sheets of paper
- Scissors - Glue/tape - Pipe cleaner/straw/pencil - Optional: Coloring materials How to
Step 1: Cut a sheet of paper into a square, following the measurements of " by ".
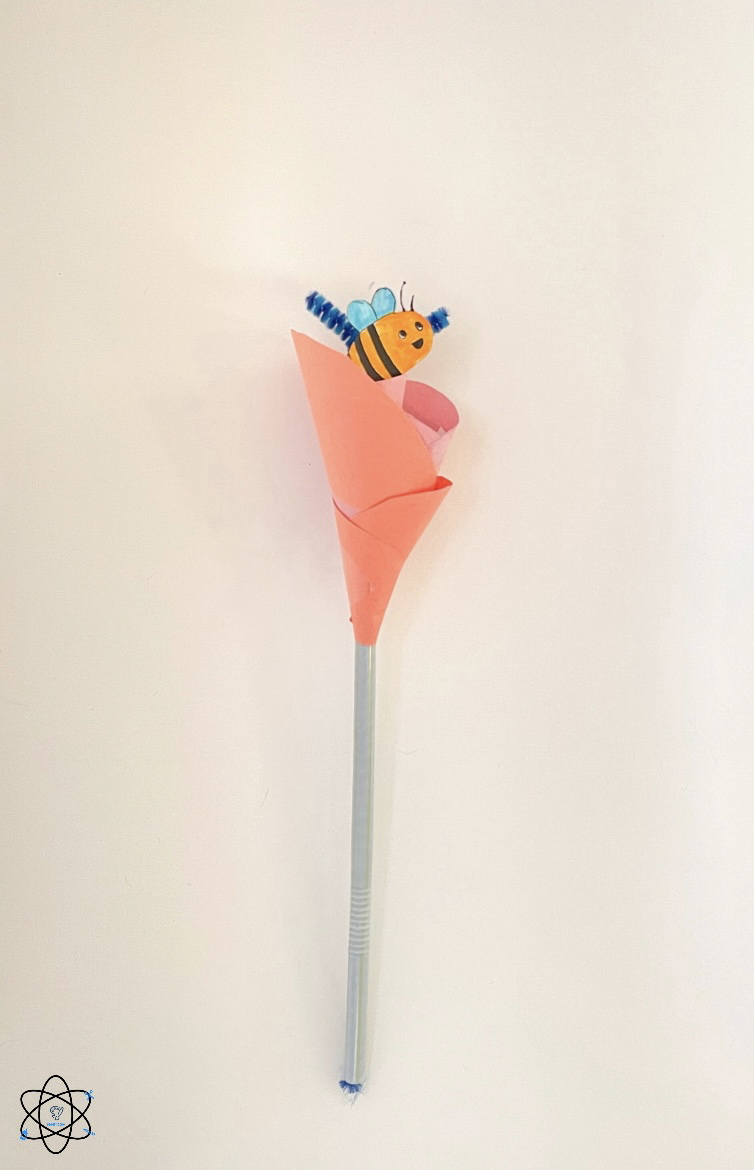
Step 2: Roll and glue/tape the square into a cone, making sure to leave a hole large enough for the pipe cleaner/straw/pencil, which will act as the flowers' stem, to fit through at the bottom. Optional Step: Draw and cut out petals to glue/tape around your cone, decorating however you would like. Step 3: Insert the stem through the hole, and tape in the middle of the opening, making sure that it is still able to move freely at the top. Step 4: Draw and cut out pollinators, like birds, bees, butterflies, and any other you can think of! If you would like, we have a template available for you to use as a reference, or to print and cut out! Step 5: Glue/tape these around your flower, and move you stem, giving them access to all the pollen! the lesson
The interactive model that will be created in this lesson will demonstrate how pollination occurs. This hands-on recognition and understanding ensures that the child will comprehend the science concept thoroughly. The engagement will allow for a more in-depth understanding of the topic at hand, and more real world connections as spring has arrived. You can find our more detailed science lesson and craft explanations in the presentation below!
0 Comments
Leave a Reply. |