|
9/9/2020 0 Comments Seasons of change CraftBY SANJANA KAMBHAMMETTU AND VISHISTA CHITTALOORU
As you may know, fall is approaching very soon! So, in this lesson, we will be learning how to make a 3-D model to represent the 4 seasons. This activity explains the Earth's tilt, the revolution of the Earth around the Sun, and more! The recommended age group for this project is 4-8 years old, although all ages are welcome.
MATERIALS NEEDED:
- Paper (preferably white, 2-4 sheets)
- Scissors - Glue/ Tape - Optional: Color pencils/markers HOW TO
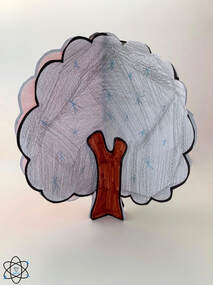
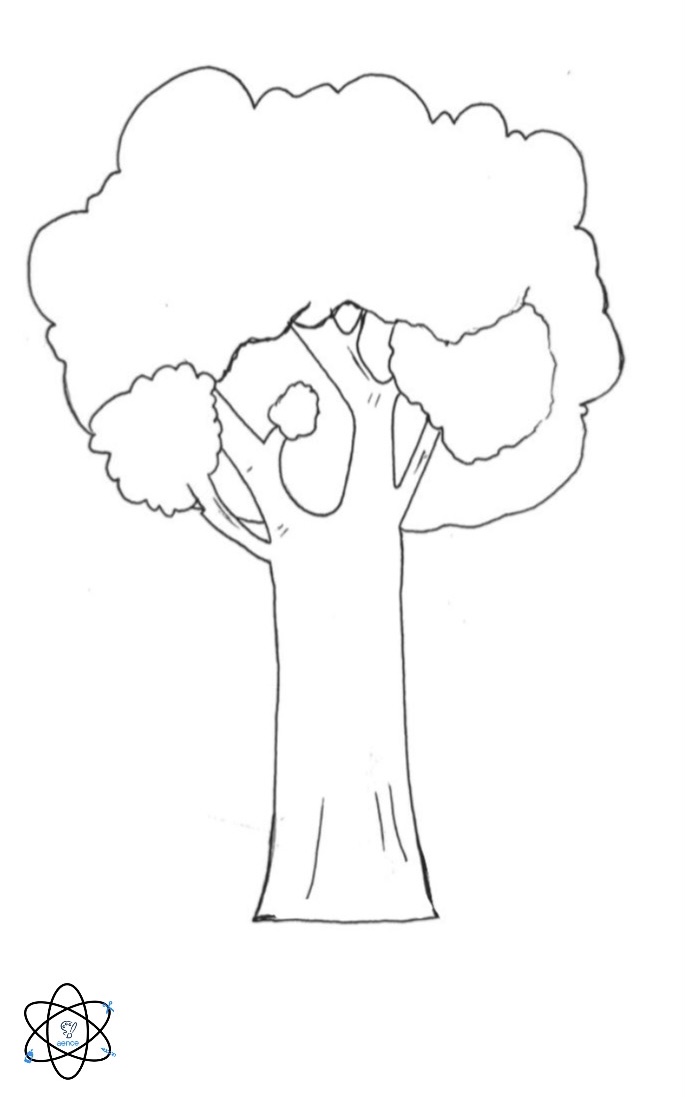
Step 1: On a sheet of paper, draw a tree with a stump that is easy to cut out.
Step 2: Trace this to make 3 more trees and cut them all out. This step should leave you with 4 cut outs. *In Steps 2-6, be as creative as you would like!* Step 3: On the first tree, draw snowflakes to show winter. Step 4: On the second tree, draw flowers to demonstrate the spring season. Step 5: On the third tree, draw fruits, like mangos or apples, to express summer. Step 6: On the last tree, draw falling leaves to represent autumn. *Optional step* Color your trees to exemplify your understanding of the seasons. Step 7: Fold each of these trees in half. Step 8: Glue or tape the back of each half to another season, following the order winter, spring, summer, and fall. Now you have your own a 3-D seasons model! The Lesson
Throughout this class, we will be describing how and why seasons change, and how it is shown in our surrounding environments. While doing so, the kids will also be creating their own diagrams, which exemplifies hands-on learning and enhances creativity to correlate with what we can see in our own backyards! You can find our explanations in the presentation below.
0 Comments
Leave a Reply. |
|||||
